I have always wanted to apply for a passport as my primary valid I.D. since I was in college but because getting an appointment was almost impossible, it took me more than a year before I can secure one. I even had to list and give all my information to my boyfriend overseas because I'm sure you're all aware that we have the worst internet connection. But one day I got lucky and I was scheduled at 10:00 AM, June 19, 2018 at DFA, SM Manila. SM Manila was the most convenient branch for me because I know how to commute from where I live and I considered that my second home when I was still studying in Intramuros. Talking about it made me reminisce how we always drop by the mall after school. :D
Going back to what transpired during my passport application...here are the items you need to ensure hassle-free application.
- Appointment Notice/E-mail Confirmation. After you successfully reserved a slot, you will be receiving a letter on your e-mail containing the reference number, appointment schedule, reminders, etc.
- Accomplished Application Form printed in A4 size. This will be attached on the e-mail that you will be receiving.
- Original copy of Philippine Statistics Authority (PSA) Authenticated Birth Certificate on Security Paper with a photocopy. Married Females (who are using their spouse's last name) must also submit Original copy of PSA Authenticated Marriage Contract on Security Paper or Report of Marriage. Local Civil Registrar Copy may be required if PSA Birth Certificate is not clear or cannot be read. When I arrived at the DFA office, the people behind me were talking about PSA (previously NSO) and that the new passport requirement should be printed with the PSA logo. I had my old NSO Birth Certificate we processed year ago for my school requirement and I thought DFA won't accept it. I had to raise a question at one of the guards on duty and he said "it depends if the document is still clear and can be verified." I sighed in relief. I thought all the waiting will all be in vain.
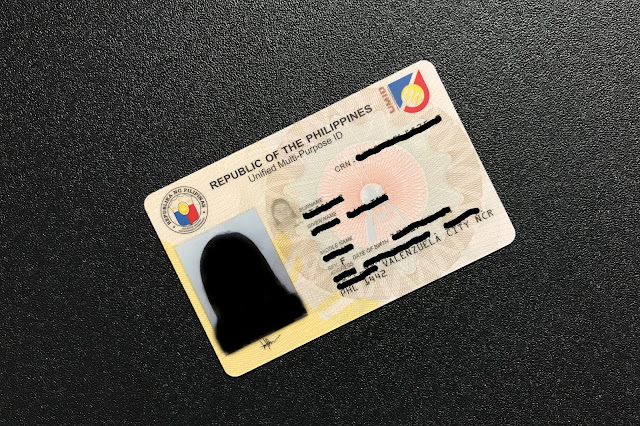
- Valid I.D. with a photocopy. For the list of acceptable cards, click here.

If you are just about to make an appointment, click
here. Just select the necessary information, choose your preferred branch, date and time slot. This step was the hardest for me. You have to make sure you follow DFA on social media accounts or check daily to see if new slots have opened up. You have to be quick if you see green dates because popular slots get taken in a matter of seconds. I even told my boyfriend he could pick anytime he wished as long as I get a slot. It's a good thing he was able to get the most convenient for me.
My appointment was at exactly 10:00 AM at SM Manila branch so as much as I would like to be 30 minutes before my scheduled time, I couldn't be. I arrived early that morning though and made sure I was near the entrance so when the gate opens, I can easily walk my way to the 5th floor, yes DFA's located on the 5th floor! The scenario was way different than expected because when SM reopens, all the people seem to push each other just so they could come in first. People nowadays...tsk. I had to stay calm so when I got upstairs, it was almost 10:15 A.M. We had to wait outside in line while a DFA personnel checks all of our requirements and confirmed appointments. Because I am short-legged, I ended up approximately the 50th in line so I thought I'm never going to make it out by exactly 11:00 A.M. which I didn't mind because I know DFA will accommodate everyone who were scheduled first.
Each step was very swift. Though this is my first time getting a passport, a lot said how they have to wait in line for hours without even knowing if they would make it to the last counter. We are lucky that DFA implemented this online appointment which I used to hate but now understood why they had to. After waiting in line outside for about 10 minutes, they now let us go inside. We fell in line at the information counter to have our documents checked and compiled and the personnel gave us each a survey sheet and a checklist.
We then proceed to the Passport Enrollmen Section where they scanned our documents and asked if we would like the regular (P950/15 business days) or expedited processing (P1,200/7 business days). Since I was no way in a hurry, I opted for the regular. I was then instructed to proceed to the cashier area to pay for the application fee. I was assisted almost right away. I wished to be corrected but I think if you made an appointment during weekends, you are suppose to pay for the expedited price at Bayad Centers or other acceptable mode of payments beforehand. This is a good thing because you can skip one process during your scheduled appointment.
I, then, proceed to the Encoding Section to process biometrics and photo I.D. There were about 5 counters so the process was real quick. I observed each of the personnel and they seem to be in good mood. It's almost the start of the day after all! I was done in a few minutes and I still have spare time to drop by the LBC counter because I opted to have my passport delivered. It cost me P150 (though I am not really sure). I was literally out the door by exactly 11:00 AM.
If you can, choose the earliest time possible so you get to maximize the alloted time for you. The process was very efficient and to think that passport validation lasts for 10 years, I would never be scared of reapplying for passport until then!
Keep updated by following me on my social media accounts:
Facebook: https://www.facebook.com/theskincarefreak/
Instagram: https://www.instagram.com/hannapoleng/
Twitter: https://twitter.com/hannapoleng
Youtube: https://www.youtube.com/channel/UCeJZrWvwomBCAgC-JKhNe5A
Bloglovin: https://www.bloglovin.com/@hannapoleng
Fashiolista: http://www.fashiolista.com/#!/profile/hannapoleng/items